JBoss Server Setup:
In this tutorial we would be moving through on how to setup the JBoss Server and how to configure the JBoss Eclipse Plugin in Eclipse.
Step 1:
Download JBOSS Enterprise Application Platform Installer from http://www.jboss.org/products/eap/download/

The Installer download would be in the form of jar.
Step 2:
Now let's install the downloaded jar component as below

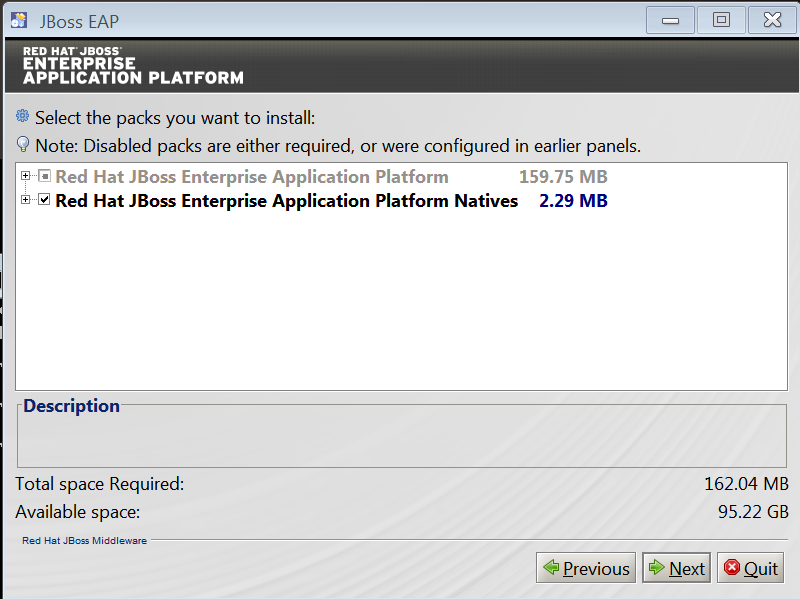
Step 3: Proceed through the below SnapShots to complete the Installation


In this tutorial we would be moving through on how to setup the JBoss Server and how to configure the JBoss Eclipse Plugin in Eclipse.
Step 1:
Download JBOSS Enterprise Application Platform Installer from http://www.jboss.org/products/eap/download/
The Installer download would be in the form of jar.
Step 2:
Now let's install the downloaded jar component as below
Step 3: Proceed through the below SnapShots to complete the Installation
Note: Hit the URL http://localhost:9990/console/ and test if the installation is successfull.
Step 4: Now let's install the Eclipse JBoss Server Plugin by navigating to Help-> Install -> New Software -> Set Work with as http://download.jboss.org/jbosstools/updates/stable/kepler/ -> Under Java Web and Java EE Development , Pick JBOSSAs Tools
Once the installation of JBossAs Tools is done, you could find the options for starting, debugging the JBoss Server at the Eclipse Tool Bar as below.
Note: From the version 8.0, JBossAs has been renamed as JBossWildFly8.0
Step 5: Setup a Web Project in Eclipse. Configure a RunTimeServer and run the project in Server. Done !!
[ Note: At times, when we attempt to run the Project in JBoss Server, we get the error as java.net.BindException
What happens here is that, JBoss is attempting to run the project at local server with port 8080. But already some application is utilizing the port 8080. Hence the JBoss can't get access to that. Hence we get the error message as address already in use.
We can overcome this by navigating to JBoss EAP Installation Directory -> Standalone -> Configuration -> standalone.xml -> Update <socket-binding name="http" port="8080"/> to <socket-binding name="http" port="8081"/>
No comments:
Post a Comment